
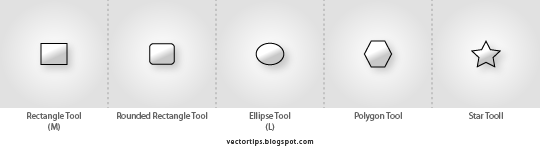
There are some basic shapes available in the Toolbox as shown in the image below. They call it Shape Tools. When you go to the Toolbox and hold the Rectangle Tool, a list of shape tools will expand out for you to pick. We will start with the default Rectangle Tool (the shortcut is M).
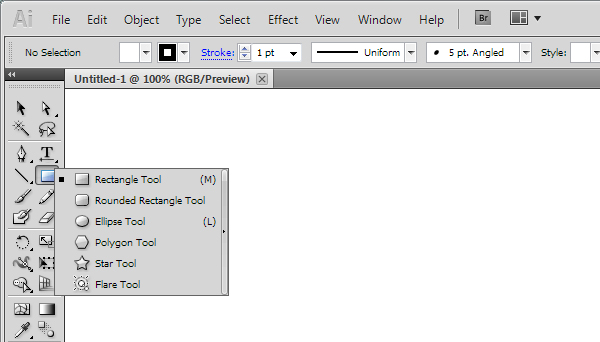
The name of the tools show the functions, so try do create some shapes; rectangle, ellipse,etc.
Before we go more on Shape Tools, we need to understand the basic of Vector Graphic that render the 'Shape' - the Fill & Stroke
Understanding Fill & Stroke
- Fill - color inside the compound shape
- Stroke - color of the outline shape
Draw a Rectangle as shown below. By default, it has a white fill and black stroke. (Stroke is the border of the shape)
 |
| Fill & Stroke color tool |
As the image shown here, the Stroke Tool indicated by the square hollowed box (shown here with black color). Fill Tool indicated by solid square (shown here with white color).
As the image shown here, the Stroke is active, as it is on top of the Fill. To change the Fill color, click the Fill Tool first, to make it on top (active).
And the small doublehead arrow is to swap the colors between Fill & Stroke.
Changing Fill Color
Let’s start changing the Fill color for the rectangle. Double click the Fill from the Tool Palette. It will pop up the Color Picker. Drag the (small triangle) slider to blue and select a deep blue color, click Ok.
Removing Stroke
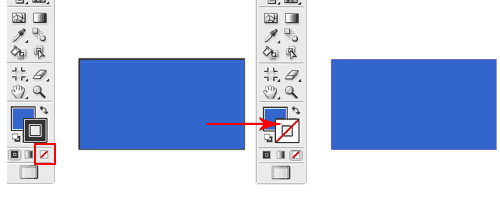 Click the Stroke in the Tool Palette once to swap it above Fill. Click the None icon boxed up in red to set the Stroke to None. The black stroke will disappear.
Now after we understand the basic element of vector graphic, that Shapes are rendered using Fill & Stroke.. now lets try more on Shape Tools ↓
Constrain Proportions
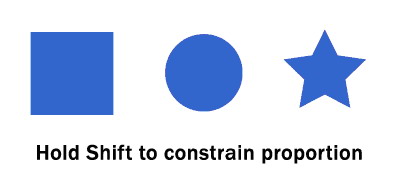 To draw a perfect square, we will select the Rectangle Tool. Hold Shift (keyboard) & drag (mouse) to draw a square. Same for the circle, we will select the Ellipse Tool and hold Shift & drag your mouse to get perfect circle.
Resizing Shapes

To resize shapes, select the shape using the Selection Tool and a bounding box will appear. Drag the corner anchor point to resize it. To constrain to proportion while resizing, hold Shift as you resize. Also hold Alt/Option if your want to resize from the same position.
Rotating Shapes

More Options for Shape Tools
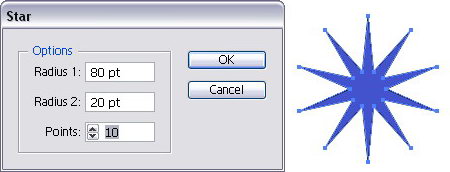 Select the Star Tool. Click once on the artboard and an option will pop up. Enter the values as shown and click Ok. It will draw a star burst shape. This method can be used to create more options for star shape.
No comments:
Post a Comment